Creating a beautiful, long-lasting interlocking driveway isn’t just about adding curb appeal it’s about combining function, durability, and craftsmanship. Homeowners across Canada are increasingly choosing interlocking stones, interlocking bricks, and interlocking pavers for their driveways because they deliver both style and strength. If you’ve ever admired a perfectly patterned driveway, you’ve seen firsthand how much elegance it can add to a home.
At UltraScape, we believe that with the right materials and technique, anyone can build a driveway that lasts for decades and still looks amazing through all the Canadian seasons. Here’s your step-by-step guide to doing it right.
Step 1: Planning Your Interlocking Driveway Design
Every durable project starts with a solid plan. Before you start laying interlocking paving stones, think about the overall design shape, pattern, and colour. Will you be using interlocking stone for a modern, smooth look or interlocking bricks for a more traditional vibe?
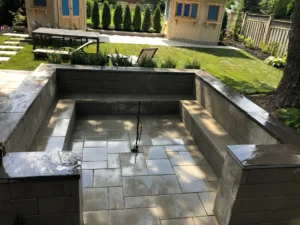
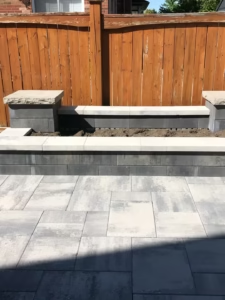
Sketch your layout and mark the driveway boundaries. It’s also wise to consider adding interlocking retaining wall blocks on the sides to hold soil and prevent erosion especially if your property is on a slope. These walls not only strengthen the structure but also blend seamlessly with interlocking patio stones if you’re planning a connected walkway or interlocking patio area.
Step 2: Excavation and Base Preparation
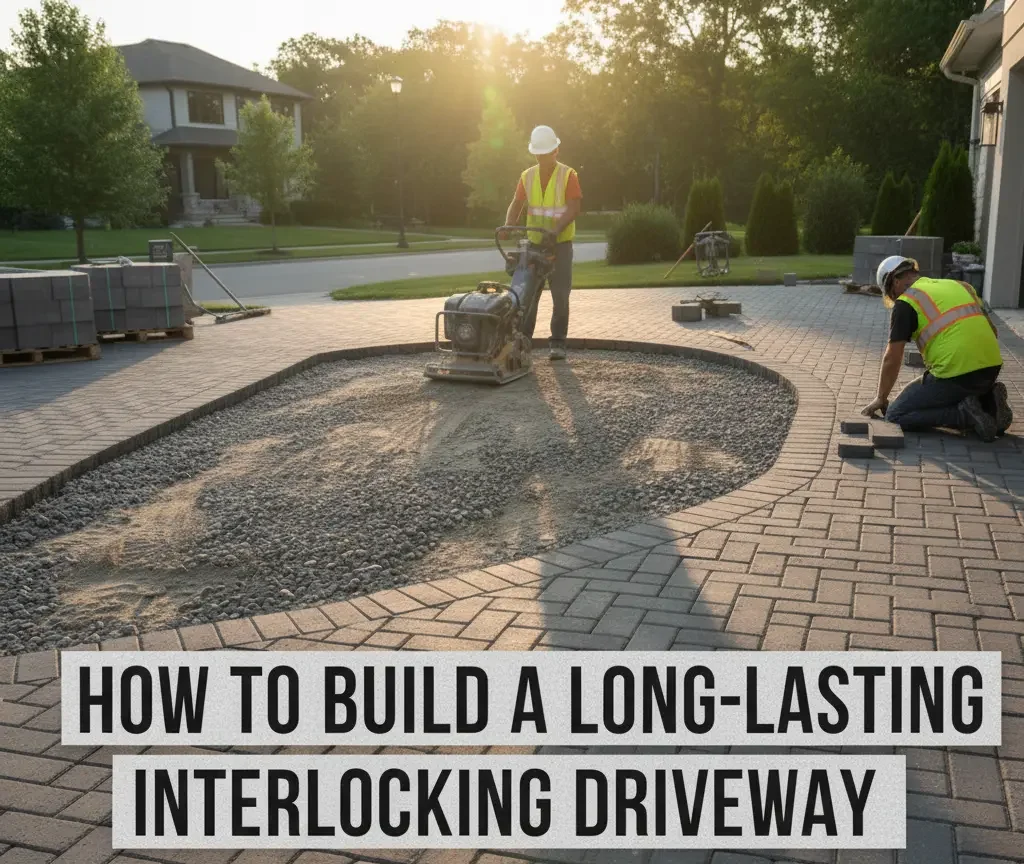
The secret to a long-lasting driveway lies beneath the surface. Begin by excavating the area about 8–10 inches deep, removing any grass, roots, or old materials.
Next, add a layer of crushed gravel (often called the base layer). This will provide stability and proper drainage vital for surviving Canada’s freeze-thaw cycles. Compact each layer using a plate compactor to ensure your interlocking stones won’t shift or sink over time.
Remember, a solid base is the difference between a brick driveway that lasts for years and one that starts to move within months.
Step 3: Adding the Bedding Layer
Spread a 1-inch layer of bedding sand over the compacted gravel. This sand layer acts as a cushion for the interlocking paving stones, allowing them to settle evenly.
Use a screed board to smooth out the surface. Be patient this step determines how level your interlocking bricks driveway will look in the end. Even the slightest unevenness can lead to bumps or shifting, so take your time to get it right.
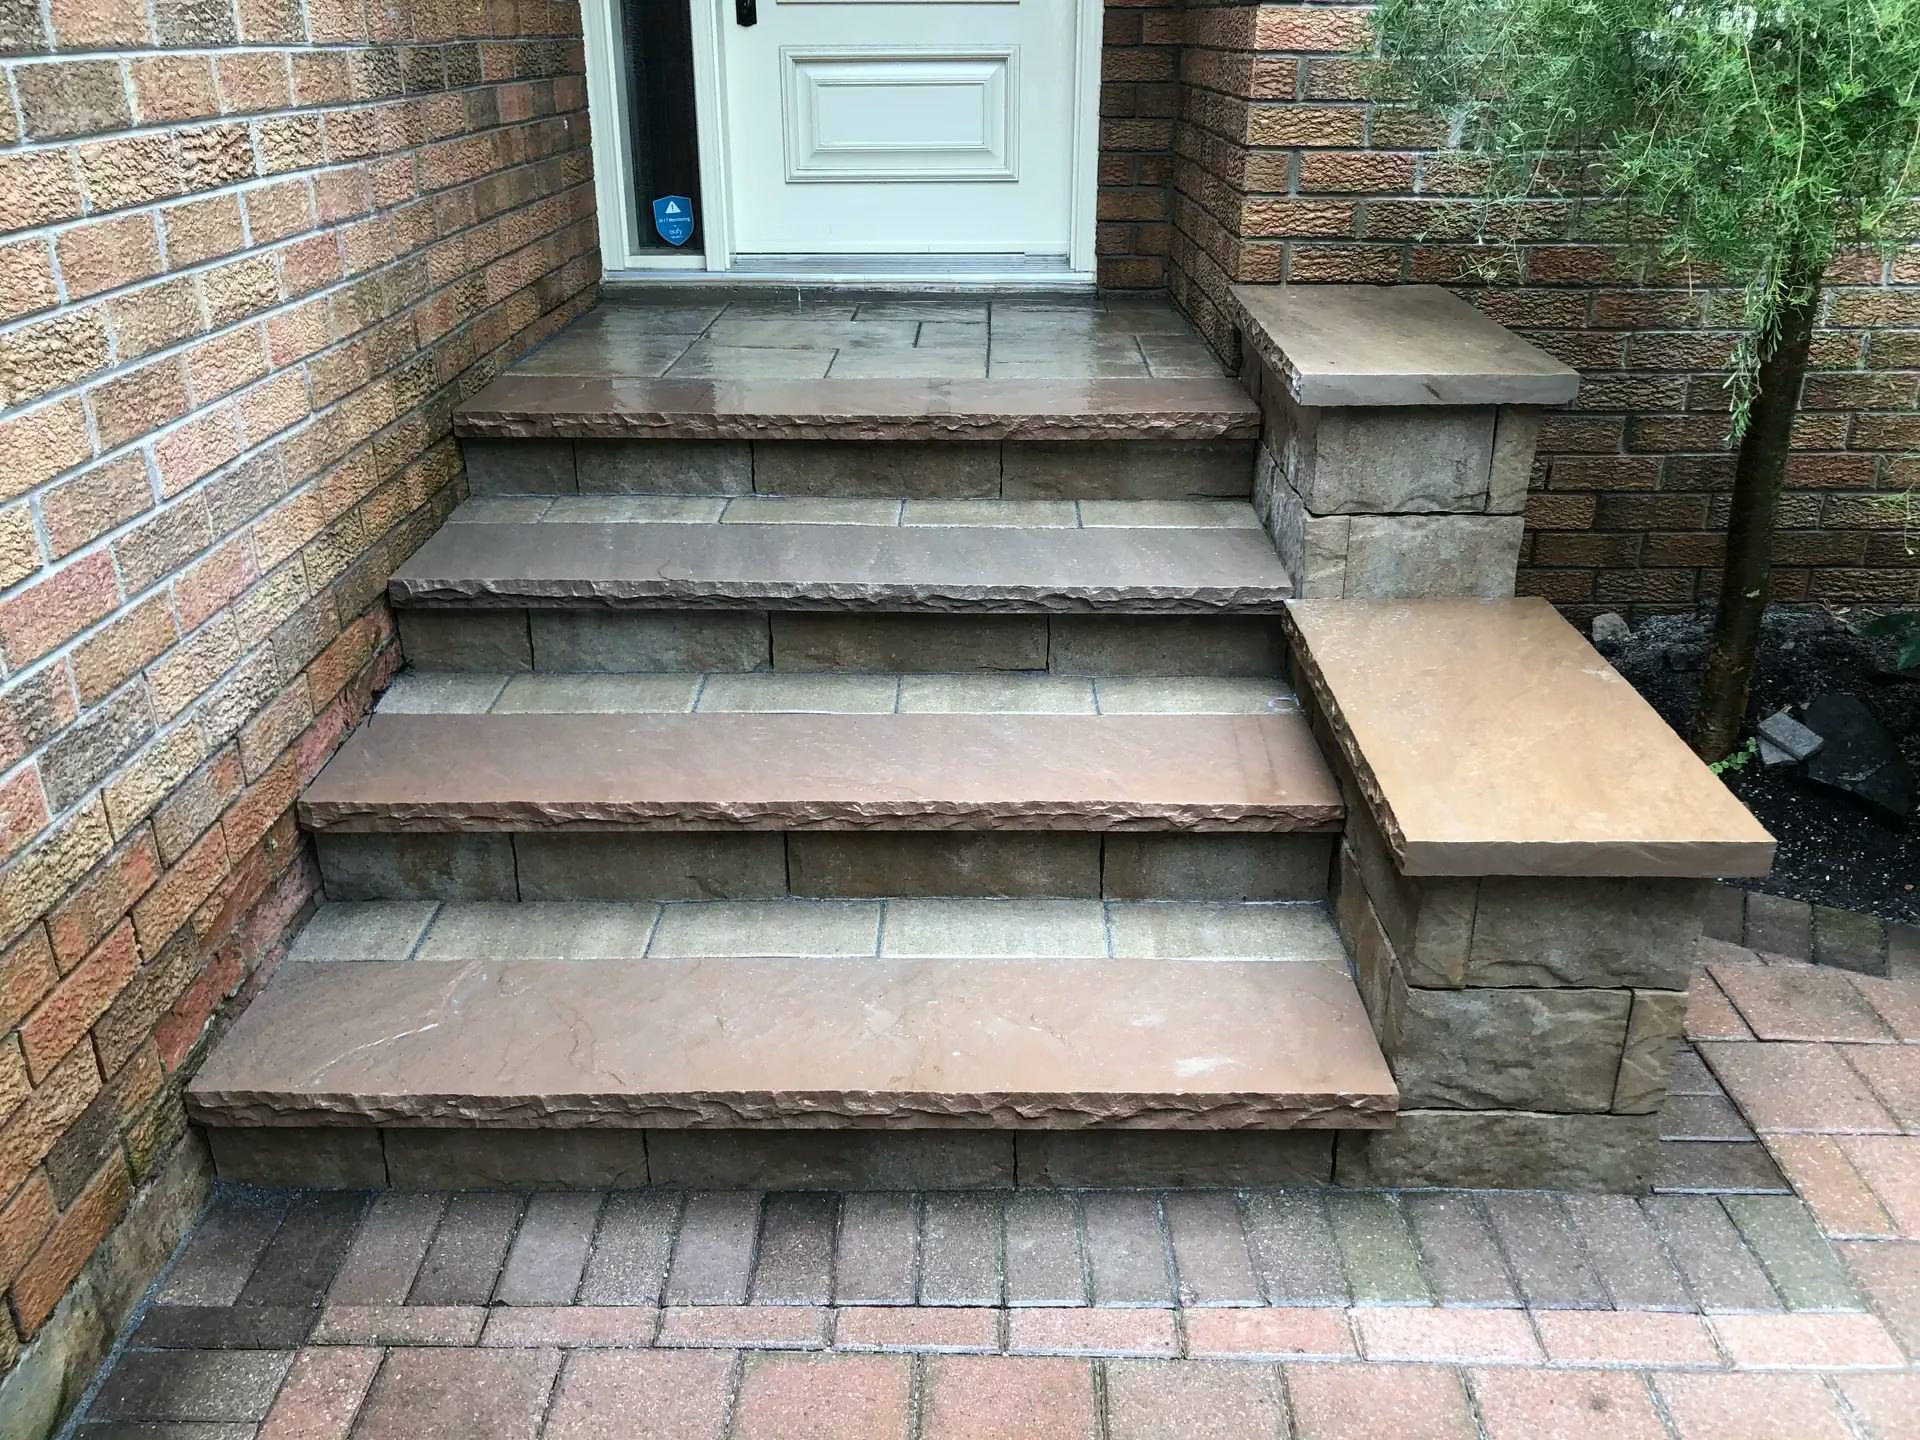
Step 4: Laying the Interlocking Stones or Bricks
Now comes the exciting part laying your interlocking pavers or interlocking bricks. Start from one corner and work your way across, following the design you planned earlier. Keep the pattern consistent and maintain tight joints between each interlocking stone.
If you’re working on a large area, use a rubber mallet to tap the stones gently into place. For curved driveways, you may need to cut a few interlocking paving stones to fit the edges neatly.
Step 5: Edge Restraints and Compaction
Edge restraints are critical. Without them, the interlocking bricks will gradually spread and lose alignment. You can use concrete edge restraints or interlocking retaining wall blocks for a more decorative finish.
Once all pavers are in place, run the compactor over the surface again. This step locks the interlocking paving stones together and ensures the sand bedding underneath settles firmly.
Step 6: Joint Sand and Finishing Touches
To finalize your interlocking brick driveway, sweep polymeric sand into the gaps between the stones. The sand stabilizes the surface and prevents weed growth. After sweeping, mist the surface lightly with water to activate the sand’s bonding properties.
This will help your interlocking stone surface resist movement and remain tight through weather changes. Clean off any residue and step back to admire your brand-new interlocking driveway a perfect blend of strength and beauty.
Step 7: Sealing and Maintenance
To keep your interlocking patio stones and driveway looking new, consider applying a sealer. This adds a protective layer that resists stains, salt damage, and fading.
Maintenance is simple sweep regularly, remove debris, and refill joints with sand if needed. With care, your driveway can last over 25 years, even in the harsh Canadian climate.
Benefits of Interlocking Driveways
- Durability: Interlocking pavers can withstand heavy vehicle loads without cracking.
- Design Flexibility: Mix interlocking bricks,stones and interlocking paving stones for endless design options.
- Easy Repairs: If one section gets damaged, you can replace just those bricks no need to redo the whole area.
- Aesthetic Appeal: Adds lasting value and enhances curb appeal.
- Eco-Friendly: The gaps between interlocking stones allow for better drainage, reducing water runoff.
Conclusion
Building an interlocking driveway is a rewarding project that enhances both the look and longevity of your home’s exterior. Whether you prefer the classic charm of interlocking bricks or the sleek texture of interlocking stones, the right technique makes all the difference.
At UltraScape, we specialize in crafting elegant and durable outdoor spaces using premium interlocking paving stones, interlocking patios, and driveways. From planning to installation, UltraScape ensures your vision comes to life beautifully and built to last. When you’re ready to transform your space, trust UltraScape to deliver excellence, one stone at a time.
Frequently Asked Questions
1. What are the best materials for an interlocking driveway?
The most popular materials are interlocking stones, bricks, and interlocking pavers. Each offers strength, variety, and aesthetic appeal.
2. How long does an interlocking driveway last?
With proper installation and maintenance, an interlocking driveway can last 25–30 years or more.
3. Do interlocking paving stones require sealing?
Sealing your interlocking paving stones helps protect them from stains, salt, and fading, especially in harsh weather conditions.
4. Can I install interlocking stones myself?
Yes, but it requires precision and the right tools. Many homeowners in Canada choose experts like UltraScape for professional results.
5. How do I maintain an interlocking brick driveway?
Sweep regularly, remove weeds, and refill joint sand as needed to keep your interlocking brick driveway in great shape.
6. What’s the difference between interlocking bricks and pavers?
Interlocking bricks are typically rectangular, while interlocking pavers come in various shapes and finishes for more design flexibility.
7. Can interlocking retaining wall blocks be used for driveways?
Not directly under vehicles, but they’re perfect for bordering or supporting an interlocking driveway.
8. How does weather affect interlocking stones?
Canadian freeze-thaw cycles can cause movement if the base isn’t compacted properly. That’s why UltraScape emphasizes a strong foundation.
9. Can interlocking patios connect to driveways?
Absolutely! Many homeowners extend their interlocking patio stones right into their interlocking driveway for a seamless outdoor design.
10. Why choose UltraScape for interlocking projects?
UltraScape combines craftsmanship, quality materials, and design expertise to create beautiful, lasting driveways and outdoor spaces.